Five Simple Steps to Clean Your Headphones Safely
Headphones are an essential part of daily life, whether you’re using them for work, gaming, commuting, or just relaxing with music. However, over time, earwax, dirt, sweat, and dust can build up, affecting sound quality and hygiene. Cleaning your headphones regularly prevents bacteria buildup, extends their lifespan, and ensures a better audio experience.
Here’s how to safely and effectively clean your headphones in five simple steps.
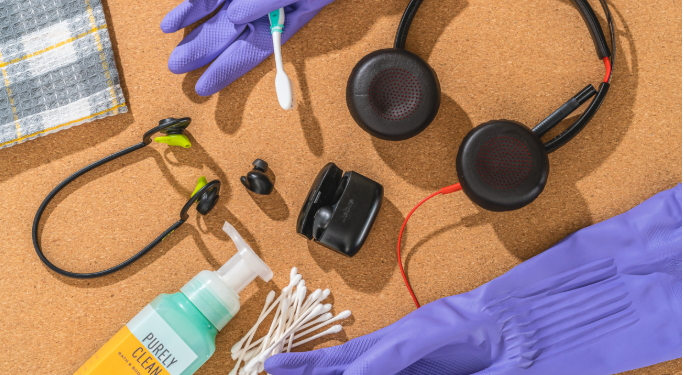
Step 1: Gather Your Cleaning Supplies
Before you start, make sure you have the right cleaning tools to avoid damaging your headphones.
What You’ll Need:
- A soft microfiber cloth
- A soft-bristle toothbrush or cotton swabs
- Rubbing alcohol (70% isopropyl alcohol) or a mild soap solution
- A toothpick or cleaning brush for small crevices
- Compressed air (optional)
Avoid using harsh chemicals, too much liquid, or abrasive materials that could damage the delicate parts of your headphones.
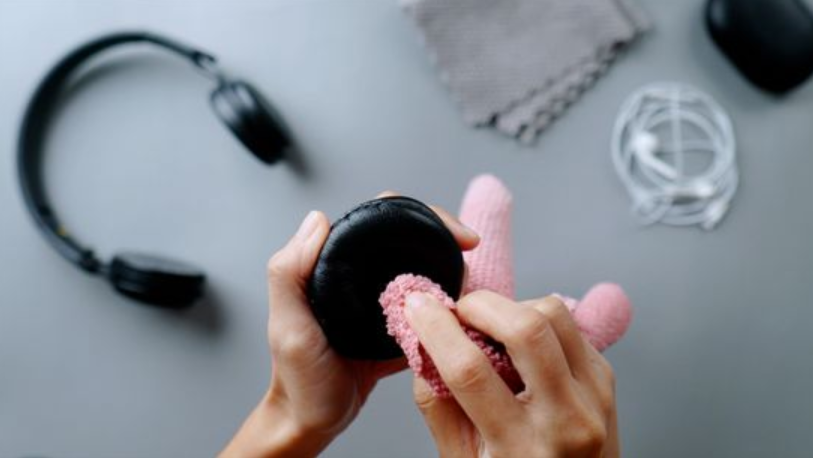
Step 2: Remove Ear Pads or Ear Tips (If Applicable)
If you have over-ear headphones, carefully remove the ear pads to clean them separately. For in-ear headphones (earbuds), detach the silicone or foam ear tips.
Cleaning Instructions:
- For foam or silicone tips: Soak them in warm, soapy water for a few minutes, then rinse and dry completely before reattaching.
- For ear pads: Use a damp cloth with mild soap to wipe them clean. Allow them to dry fully before reattaching.
This step helps remove trapped sweat, dust, and bacteria that accumulate over time.
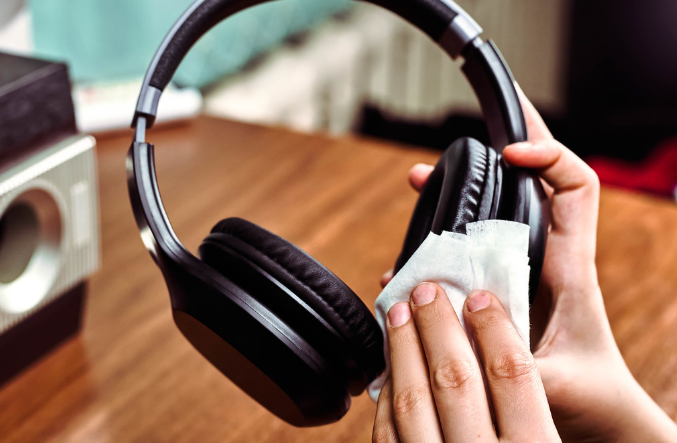
Step 3: Wipe Down the Headphone Surface
Use a soft microfiber cloth dampened with isopropyl alcohol or a mild soap solution to wipe down the exterior surfaces of the headphones, including the headband, ear cups, and buttons.
Important Tips:
- Avoid excess moisture—do not soak the cloth.
- Focus on areas where your skin frequently touches the headphones.
- For small crevices or buttons, use a cotton swab or soft toothbrush to remove dirt.
This step removes oil, sweat, and grime, keeping your headphones looking fresh.
Step 4: Clean the Speaker Grilles and Ports
Dirt and earwax often clog the speaker grilles and charging ports, affecting sound quality. To clean these areas:
- Use a dry toothbrush or toothpick to gently loosen trapped debris.
- Compressed air can help remove dust from the mesh without damaging it.
- Avoid using liquids directly on the speaker grilles, as moisture can seep inside.
Regular cleaning of these areas maintains clear audio and prevents distortion.
Step 5: Let Everything Dry Before Reassembling
Once all parts are clean, allow them to dry completely before reassembling your headphones. Moisture trapped inside can cause electrical damage or affect sound quality.
Final Check:
- Ensure ear pads and ear tips are fully dry.
- Double-check that no liquid remains inside the speaker grilles.
- Reattach any removed parts carefully.
After drying, your headphones should feel clean, fresh, and ready to use.
Final Thoughts
Keeping your headphones clean is essential for hygiene, sound quality, and longevity. By following these five simple steps, you can remove dirt, prevent bacteria buildup, and maintain optimal audio performance.
Make it a habit to clean your headphones every few weeks, especially if you use them daily. This small effort ensures that your favorite pair stays in great condition for years to come.