How to Clean Your Headphones Safely Without Damaging Them
1. Gather your cleaning tools
Before you start, make sure you have the right tools on hand. You’ll need a soft, lint-free cloth, cotton swabs, isopropyl alcohol (preferably 70% or less), a soft-bristled brush, and a small bowl of warm water with a drop of mild dish soap.
Remember, use soft cloths, brushes, and cotton swabs to avoid scratching surfaces or damaging delicate components like grills or ear pads.
2. Turn off and unplug your headphones
Always turn off your headphones and disconnect them from any devices before cleaning. This step is crucial to avoid electrical damage or accidental short circuits. If your headphones have removable parts, like ear cushions or detachable cables, take them apart for more effective cleaning.
The LCD-2 Classic leans into a warm, natural sound profile that softens the harshness of some recordings, offering a more balanced listening experience. However, their open-back design means they’re better suited for home use rather than noisy environments. If you’re looking for audiophile-grade headphones with a focus on metal, these are a strong contender.
3. Wipe down the exterior
Use a soft, slightly damp cloth to wipe down the exterior surfaces of your headphones. Avoid soaking the cloth; it should only be slightly damp to prevent water from entering the internal components. For tougher spots, dip the cloth in a diluted soap solution, then wipe with a dry cloth to remove residue.With powerful bass response and detailed highs, the DT 770 PRO ensures you won’t miss a single beat. They’re also incredibly durable, with a robust build and replaceable parts that make them a long-lasting investment. If you value precision and want headphones that deliver a punchy, energetic sound – this would be your pick.
4. Clean the ear pads or tips
For over-ear or on-ear headphones, gently clean the ear pads using a damp cloth or cotton swab dipped in a diluted soap solution. Be careful not to oversaturate the material, as excess moisture can degrade the foam or leather.
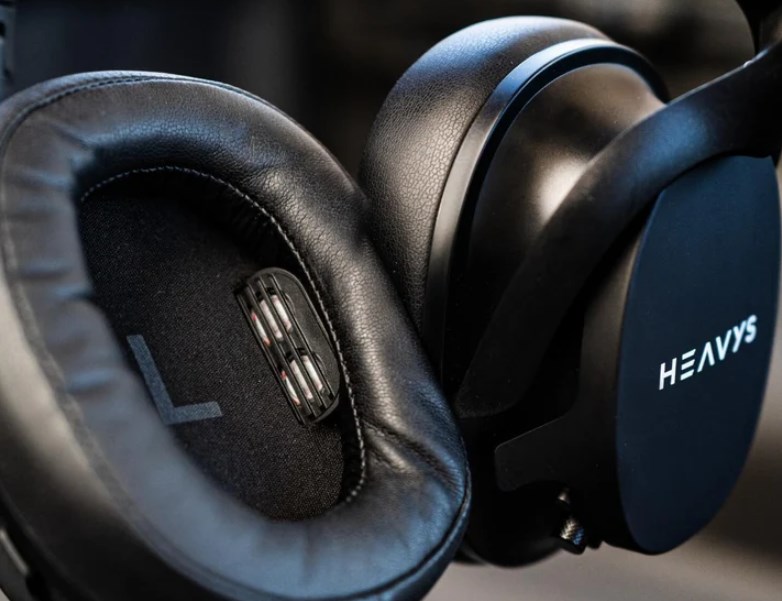
Ear pads eventually wear out. Luckily, headphones like Heavys have ear pad replacements you can purchase instead of replacing your headphones.
5. Clean the mesh grills
The speaker grills can accumulate earwax, dust, and debris, which can affect sound quality. Use a soft-bristled brush or a dry toothbrush to gently dislodge particles. For stubborn grime, lightly dab a cotton swab with isopropyl alcohol and gently clean the grills. Be extra cautious not to let liquid seep into the openings.
6. Disinfect high-touch areas
Headphones can harbor bacteria from frequent use, so it’s essential to disinfect areas that come into contact with your skin. Lightly dampen a cloth or cotton swab with isopropyl alcohol and wipe down the ear pads, headband, and other frequently touched parts. Allow the surfaces to air-dry completely before use.

Heavys headphones have accessories like replacement parts and protective cases, so your headphones will last for years.
7. Check and clean cables or ports
If your headphones have detachable cables, wipe them down with a slightly damp cloth. For ports or jacks, use a dry cotton swab to clean out dust and debris gently. If necessary, a toothpick can help dislodge stubborn dirt, but be careful not to scratch the connectors.
Heavys headphones have accessories like replacement parts and protective cases, so your headphones will last for years.
8. Reassemble and test
Once everything is clean and dry, reassemble your headphones. Ensure all parts are securely attached and free from moisture. Finally, plug them back in and test to confirm everything is functioning correctly.
9. Stay on the safe side
Always consult the manufacturer’s cleaning recommendations in your headphone manual, as some materials (like leather, fabric, or foam) may have specific cleaning instructions. For high-end headphones, consider using specialized cleaning kits designed for electronics.
Conclusion
By following these steps, you can safely clean your headphones without causing damage, ensuring they stay in top condition for years to come. Regular maintenance not only extends their lifespan but also enhances your listening experience.